Showing posts with label tutorial. Show all posts

Monday, June 25, 2012

How to make Shepherd's Purse Tincture to stop bleeding.

What is Shepherd's Purse?:

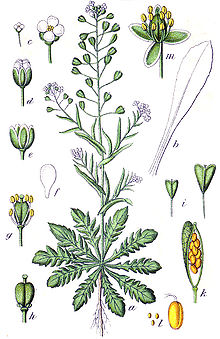
Shepherd's Purse is an herb that is used to stop bleeding. Unlike most flowering plants it actually flowers all year long. The plant starts out as a rosette or basal type leafing at the ground, then it sends up one single stem that branches off and has other smaller flowering "heads". In between the flowers and the leaves are little triangular/heart shaped pods that hold the seeds. 


Things to know:

  • Tinctures are usually made from the fresh plant.

  • Even when dried and infused herbalists say it is one of the best herbs for stopping hemorrhages such as lung, stomach, uterus, and more especially for bleeding kidneys.

  • It was used in the Great War when people had to have their limbs amputated to stop hemorrhages. 

What Web-MD says:

Shepherd's purse is used for heart and circulatory problems including mild heart failurelow blood pressure, and nervous heart complaints. It is also used for headachevomiting-blood, blood in the urine, diarrhea, and bladder infections.

Women use shepherd's purse for premenstrual problems, long periods, and menstrual cramps.

Shepherd's purse is sometimes applied directly to the skin for nosebleeds, superficial burns, and bleeding skin injuries.
Possible Drug interactions:
 
  • Sedative medications (CNS depressants) interacts with SHEPHERD'S PURSE
  • Large amounts of shepherd's purse might cause sleepiness and drowsiness. Medications that cause sleepiness are called sedatives. Taking shepherd's purse along with sedative medications might cause too much sleepiness.
    Some sedative medications include clonazepam (Klonopin), lorazepam (Ativan), phenobarbital (Donnatal), zolpidem (Ambien), and others.
  • Thyroid hormone interacts with SHEPHERD'S PURSE
  • The body naturally produces thyroid hormone. Shepherd's purse might decrease how much thyroid hormone the body produces. Taking shepherd's purse along with thyroid hormone might decrease the effectiveness of thyroid hormone.
    ~ Also from Web-MD


    HOW TO MAKE A TINCTURE WITH SHEPHERD'S PURSE
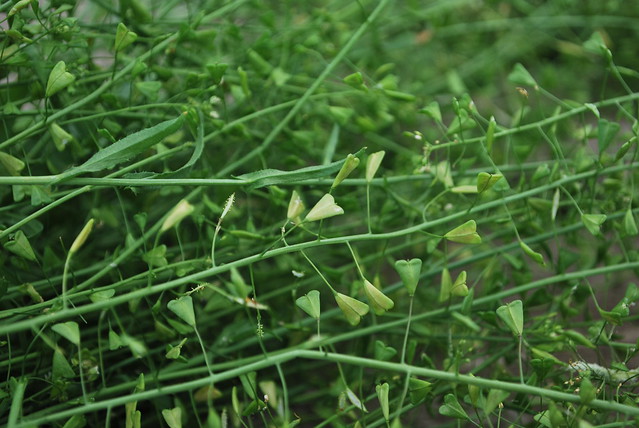
    1. Identify and harvest Shepherd's Purse. Look for the rosette by the ground, and the triangular seed pods. 


    2. Gather supplies. 
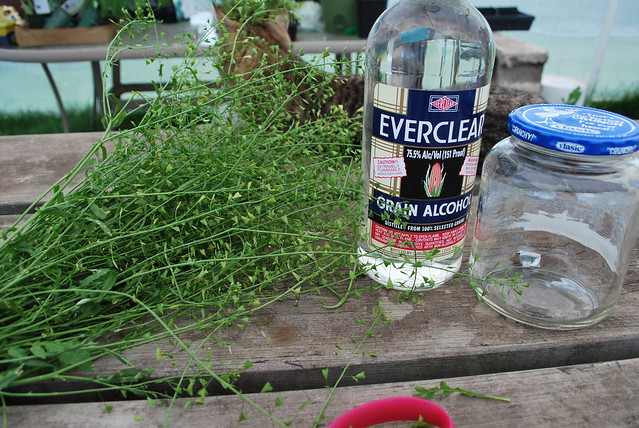
    • glass jar with lid
    • scissors
    • vodka or grain alcohol
    • shepherd's purse.


    3. Be sure to shake out your harvest very well. I did not do it so good and there is a little caterpillar who decided to stick around for the ride. (Gross, don't worry I removed him once I noticed he was in there.)


    4. Start chopping up your Shepherd's purse directly into the jar. 
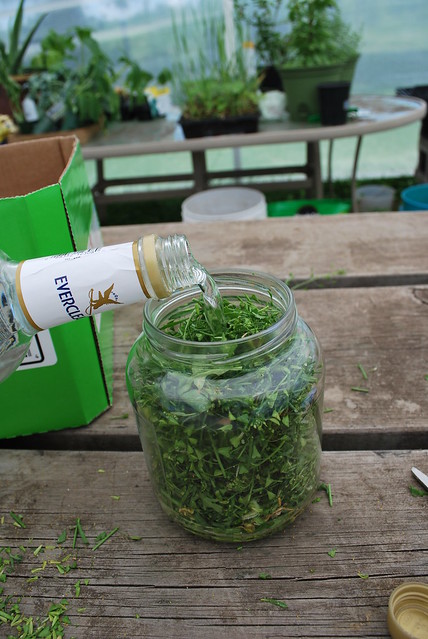


    5. Fill jar with alcohol. ( I am a Latter-Day Saint and kind of freaked out about this when I first started my herbal journey. The amount of alcohol in one 1/2 teaspoon dose is the same that is in one regular glass of orange juice. And the medicine you get from the doctor or over the counter like cough syrup has alcohol in it as well. This is one of those times I follow the spirit of the law vs the letter of the law. 


    6. Apply lid and store in a dark place for six weeks. You can use after the first week but it will not be as potent. 


    7.  After six weeks strain tincture and put into dropper bottles. Make sure to label with an expiration date of one year. For some reason shepherds purse tincture does not last long, so consider making it an annual project. 


    P.S. I learned the medical practitioners will not recommend Shepherd's purse to patients, because it has not been tested on humans, only on animals or in the laboratory. So use at your own risk. 

    Also please note the disclaimer at the bottom of the page.

    Tuesday, January 10, 2012

    {Foodie Tutorial} How to make Kale Chips

    If you want a healthy snack that can be really addicting you must try these Kale chips.

    Things you will need:

    1 bunch of Kale
    a knife and cutting board
    seasonings (my favorite is salt, pepper, and cayenne)
    olive oil
    oven set to 180-200 degrees F.


    Today we have enlisted the help of a little man
    who has already been snacking on some Kale.
    Excuse the sweetheartedness of this picture. 


    The first thing you must do is wash all the little garden friends off the kale. I just used water but I bought Organic so it doesn't need too much of a scrub . 


    Next you need to remove the stalk from the Kale if you don't you'll end up with sharp little spears that like to poke you. Plus the stalk is very bitter. So not so fun. I find it is easies if you lay the kale on its side and just make one swipe with the knife along the stem cutting both leaves. It works really slick.  


    I was actually sad to see this waste. My chickens won't eat it and I almost ran out and bought some rabbits just to give them this treat.  Here is what you will be left with. The leaves you see are really wilted and I didn't want to make a chip with them so that is why they are there. 


    Next drizzle olive oil or any type of oil you prefer over the de-stemmed Kale.

    "Mommy, this is my working face."

    Make sure to mix thoroughly so each piece of Kale has oil on it, but not enough that it is soaked and soggy. 
    Orion was pretty excited about this part. 


    Now you have two options you can either put on dehydrator sheets and season to your liking. Then Dry until crispy like a chip or you can do as I did and seasoned them on the pans that go in our convection oven.  

    Set the oven to 180-200 degrees and bake until crispy like a chip, you may have to mix up the leaves in order to get them all dried. 
    NOTE: If you are using a regular oven not set to convection (where it blows air) you may want to crack the door open, or else the leaves will just steam. 


    Here they are in their crispy goodness.

    "iHEART kale chips!" 


    This treat is guaranteed to make you "chipper". Sorry I had to. 


    Friday, October 1, 2010

    {Foodie} Pumpkin Pie Recipe and Tutorial

    Since today is the first of October, I thought I would share what we did to honor this fact. Well, Remember Orion's School pics? Well we decided to make use of the props. :D So this is  my tutorial for making your own pumpkin like you would get in a can.  You can get so much more from a pumpkin than from a can that would cost about $1.99. Yes, two dollars does not seem like a lot but it really is especially when you can get a 10-15 pounder for roughly the same price. The best thing I learned was that you can use regular field pumpkins for the pie. This rocks! So here we go. 

    Making your own canned pumpkin...minus the canning
    Scoop out all stringy stuff and seeds.  You may need to scrape with a spoon to get everything out. 


    Make sure to save the seeds on a cookie sheet  try to pick out most pumpkin parts. I sprinked with sea salt and roasted at 350 for about an hour. Be sure to stir halfway. 

    once pumpkin is cleaned out cut into chunks that will fit in your pan. 
    put pieces with skin up and ad a little water to pan. Bake at 350 for an hour or until fork can be inserted into the skin. 
    Let pumpkin cool for 10 minutes or until able to handle. 


    scoop out pumpkin and mash.

    You may have to strain some water off.

    Mash or puree to desired consistency.  Viola! You can now add desired amount to your favorite recipe. NOTE: The average can of pumpkin is 16 oz. 


    MMM Yummy  Roasted pumpkin seeds. 

    Pumpkin Pie Recipe

    1 3/4 cups pumpkin puree
    3 eggs
    2 TB unbleached flour
    1/4 cup unbleached sugar
    1/4 cup brown sugar
    1 tsp salt
    2 tsp pumpkin pie spice (tweek to liking)
    3 TB Butter
    2 Tb Milk or cream
    1 uncooked pie crust


    Preheat oven to 350. 

    Mix all ingredients until at desired consistency. Pour into pie shell in pie pan (some people have actually poured it into just the crust, no pan).
    Bake at 350 or until knife inserted into center of pie comes out clean.

    There you have it my first recipe that I created. WOOT! 


    Friday, April 16, 2010

    {Tutorial} Tiling a Dollhouse floor

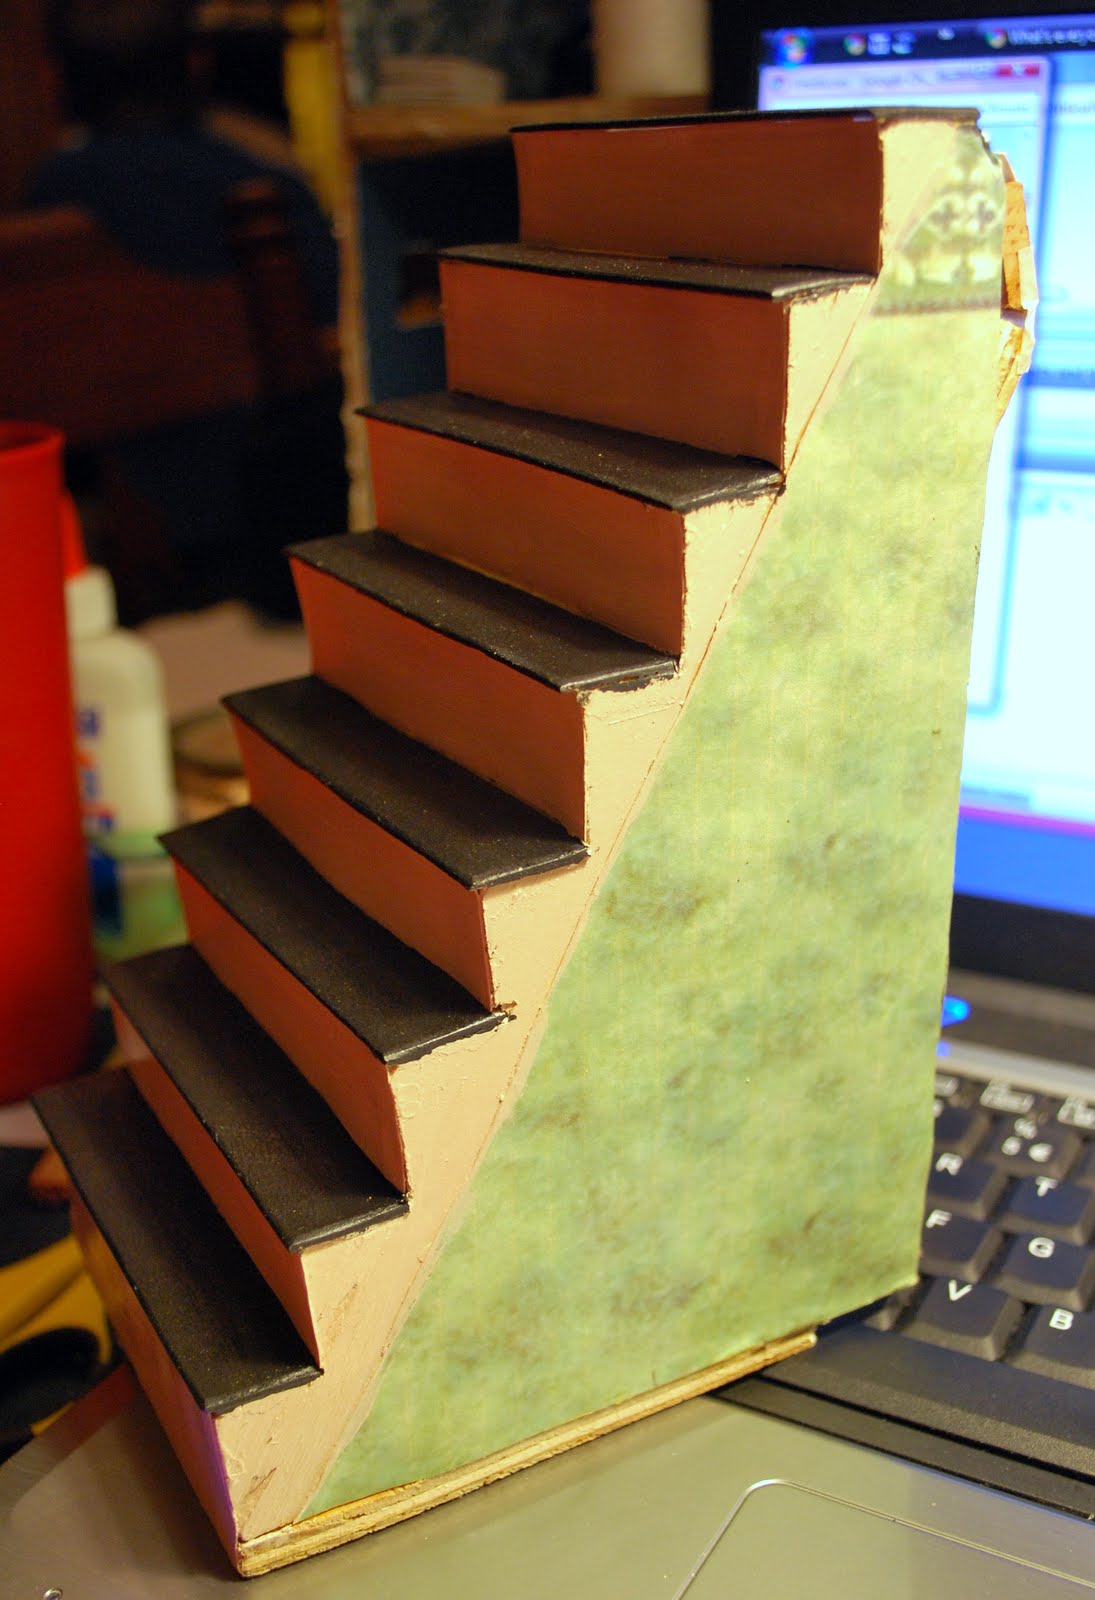
    So we built some stairs lastnight. I am very proud of them the top step actually is flush with the upper floor. How exciting!


    So some people from the Greenleaf Forum wanted a Tutorial on how I did the floor at the Blue Cat Mercantile. I have a small section to do with the bathroom.  But here is the tut on here.


    First you have to paint your surface with the color "grout you want" as you can see I needed to add another coat but I didn't.


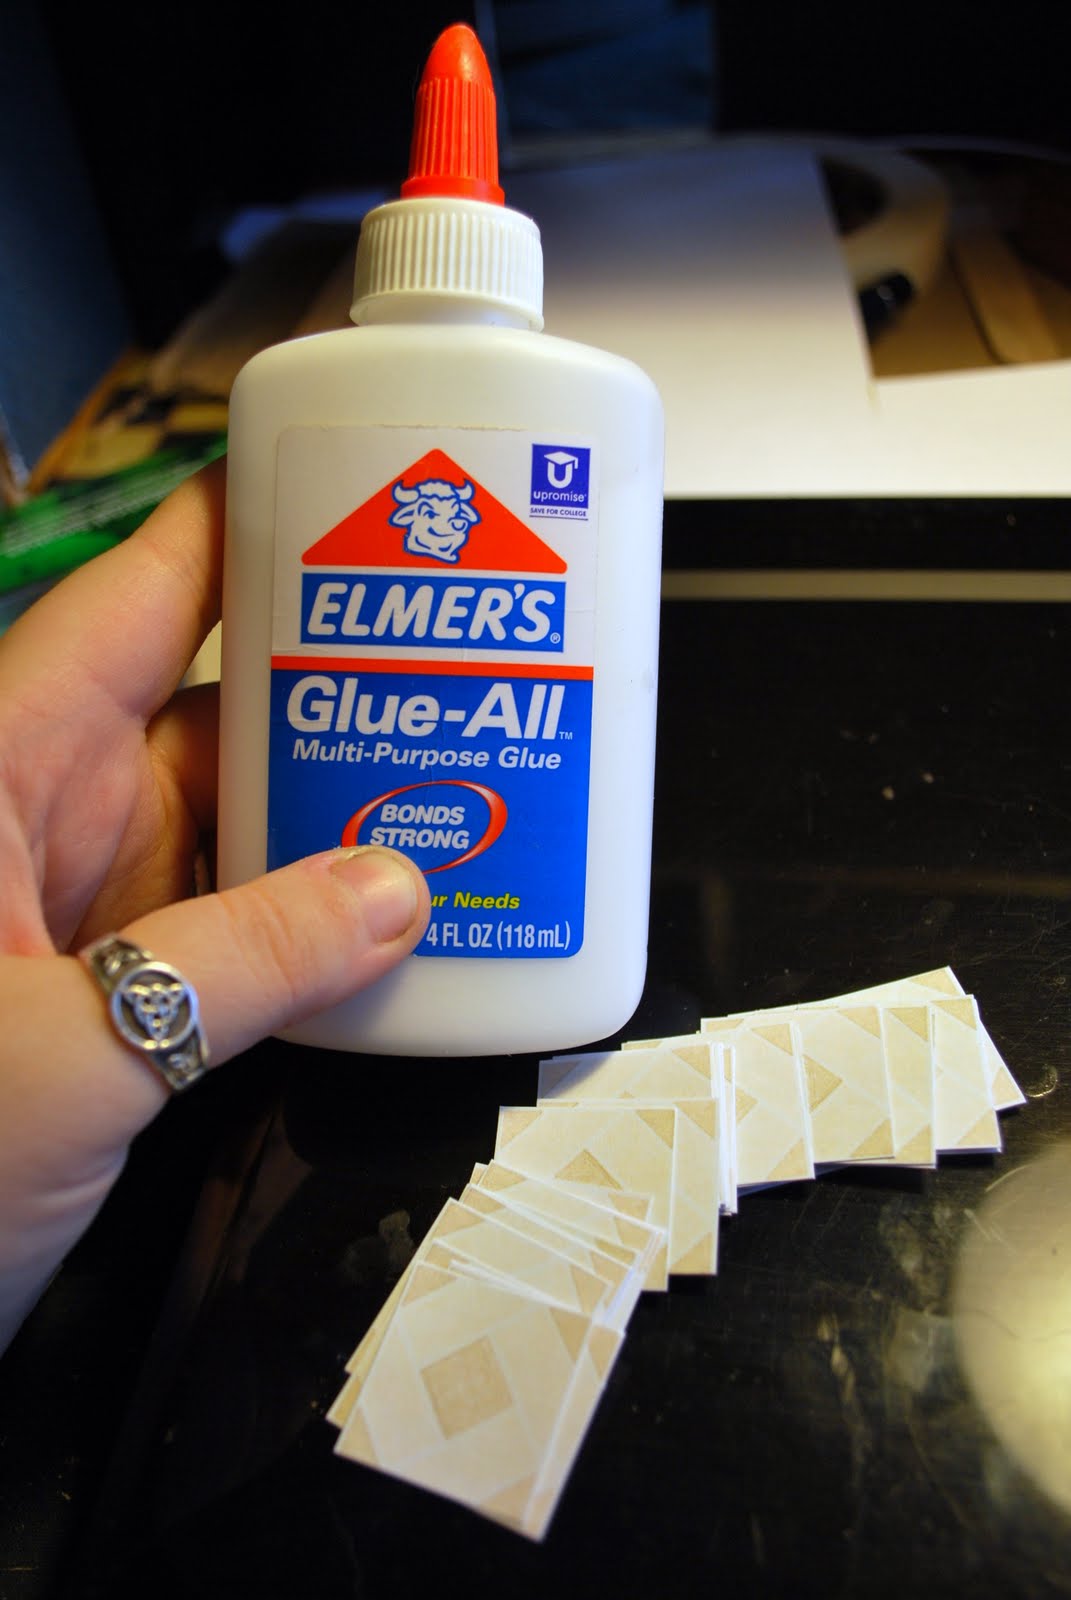
    Next I use Elmer's glue all but any glue that will bond your tiles to the surface will work. I use card stock tiles.
    I cut them out they are equal to 12 in tiles. So they are an inch each.


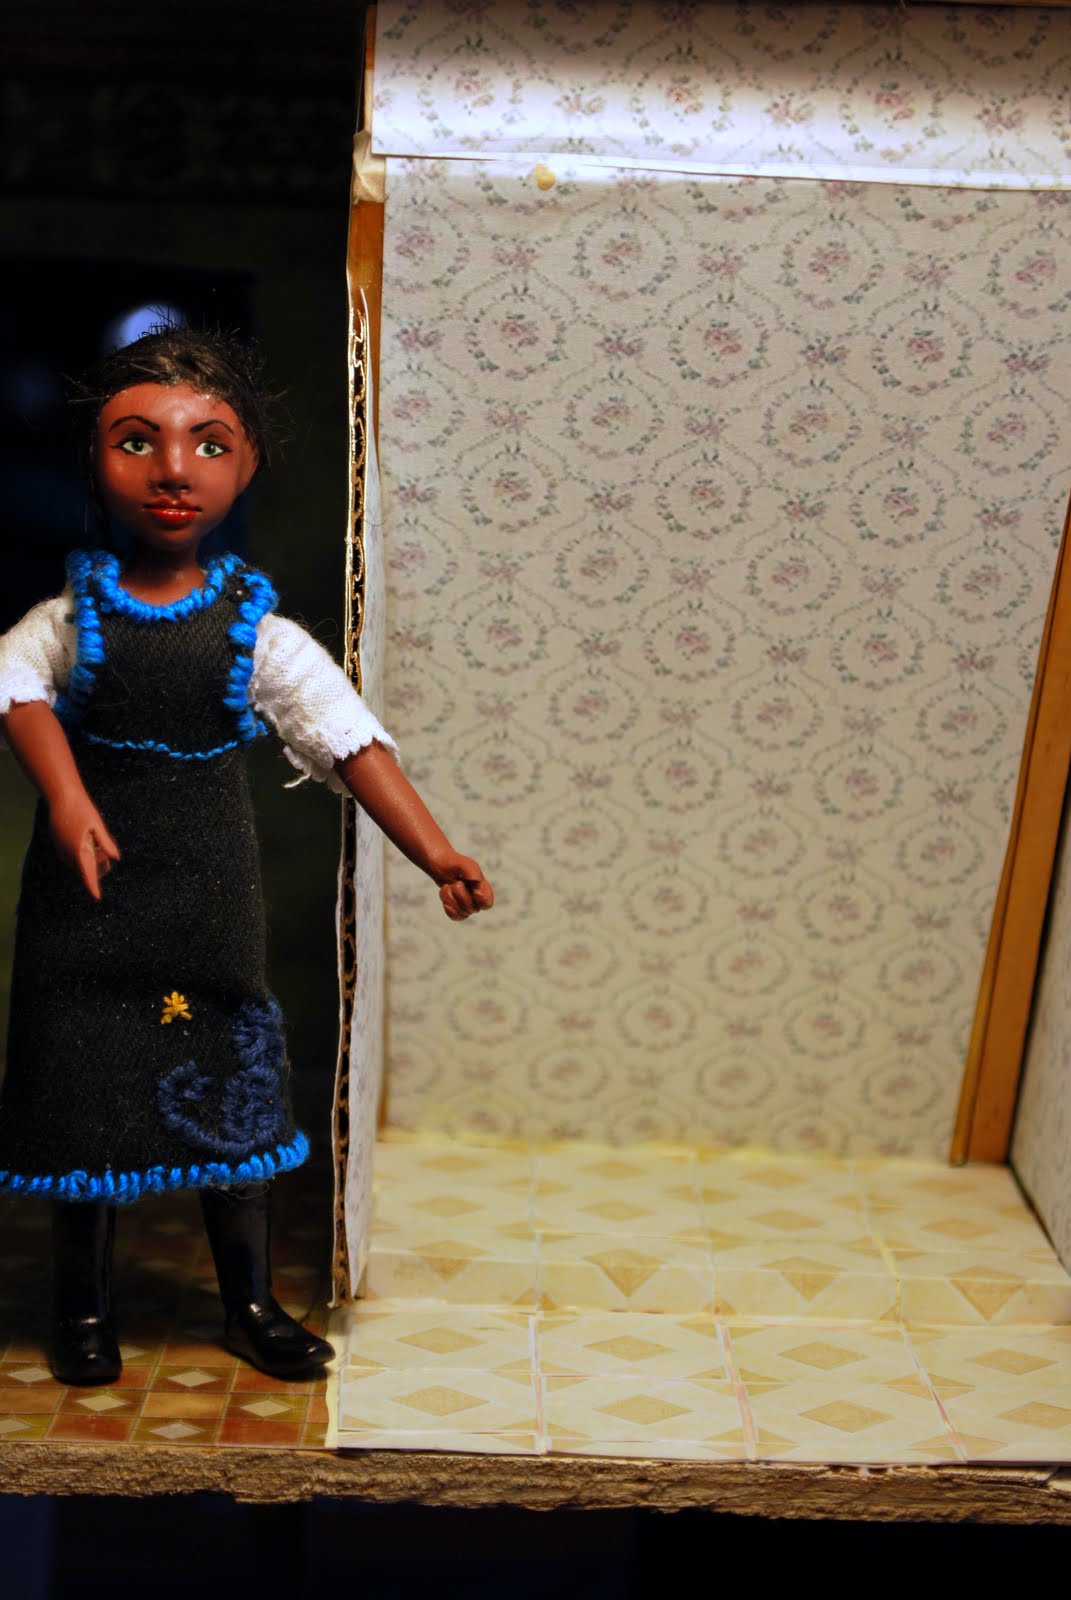
    Just add some glue and place a tile down, Just hold it in place for a few seconds so they don't move. Make sure to trim the tiles so they fit properly.


    Tadah we have a floor.

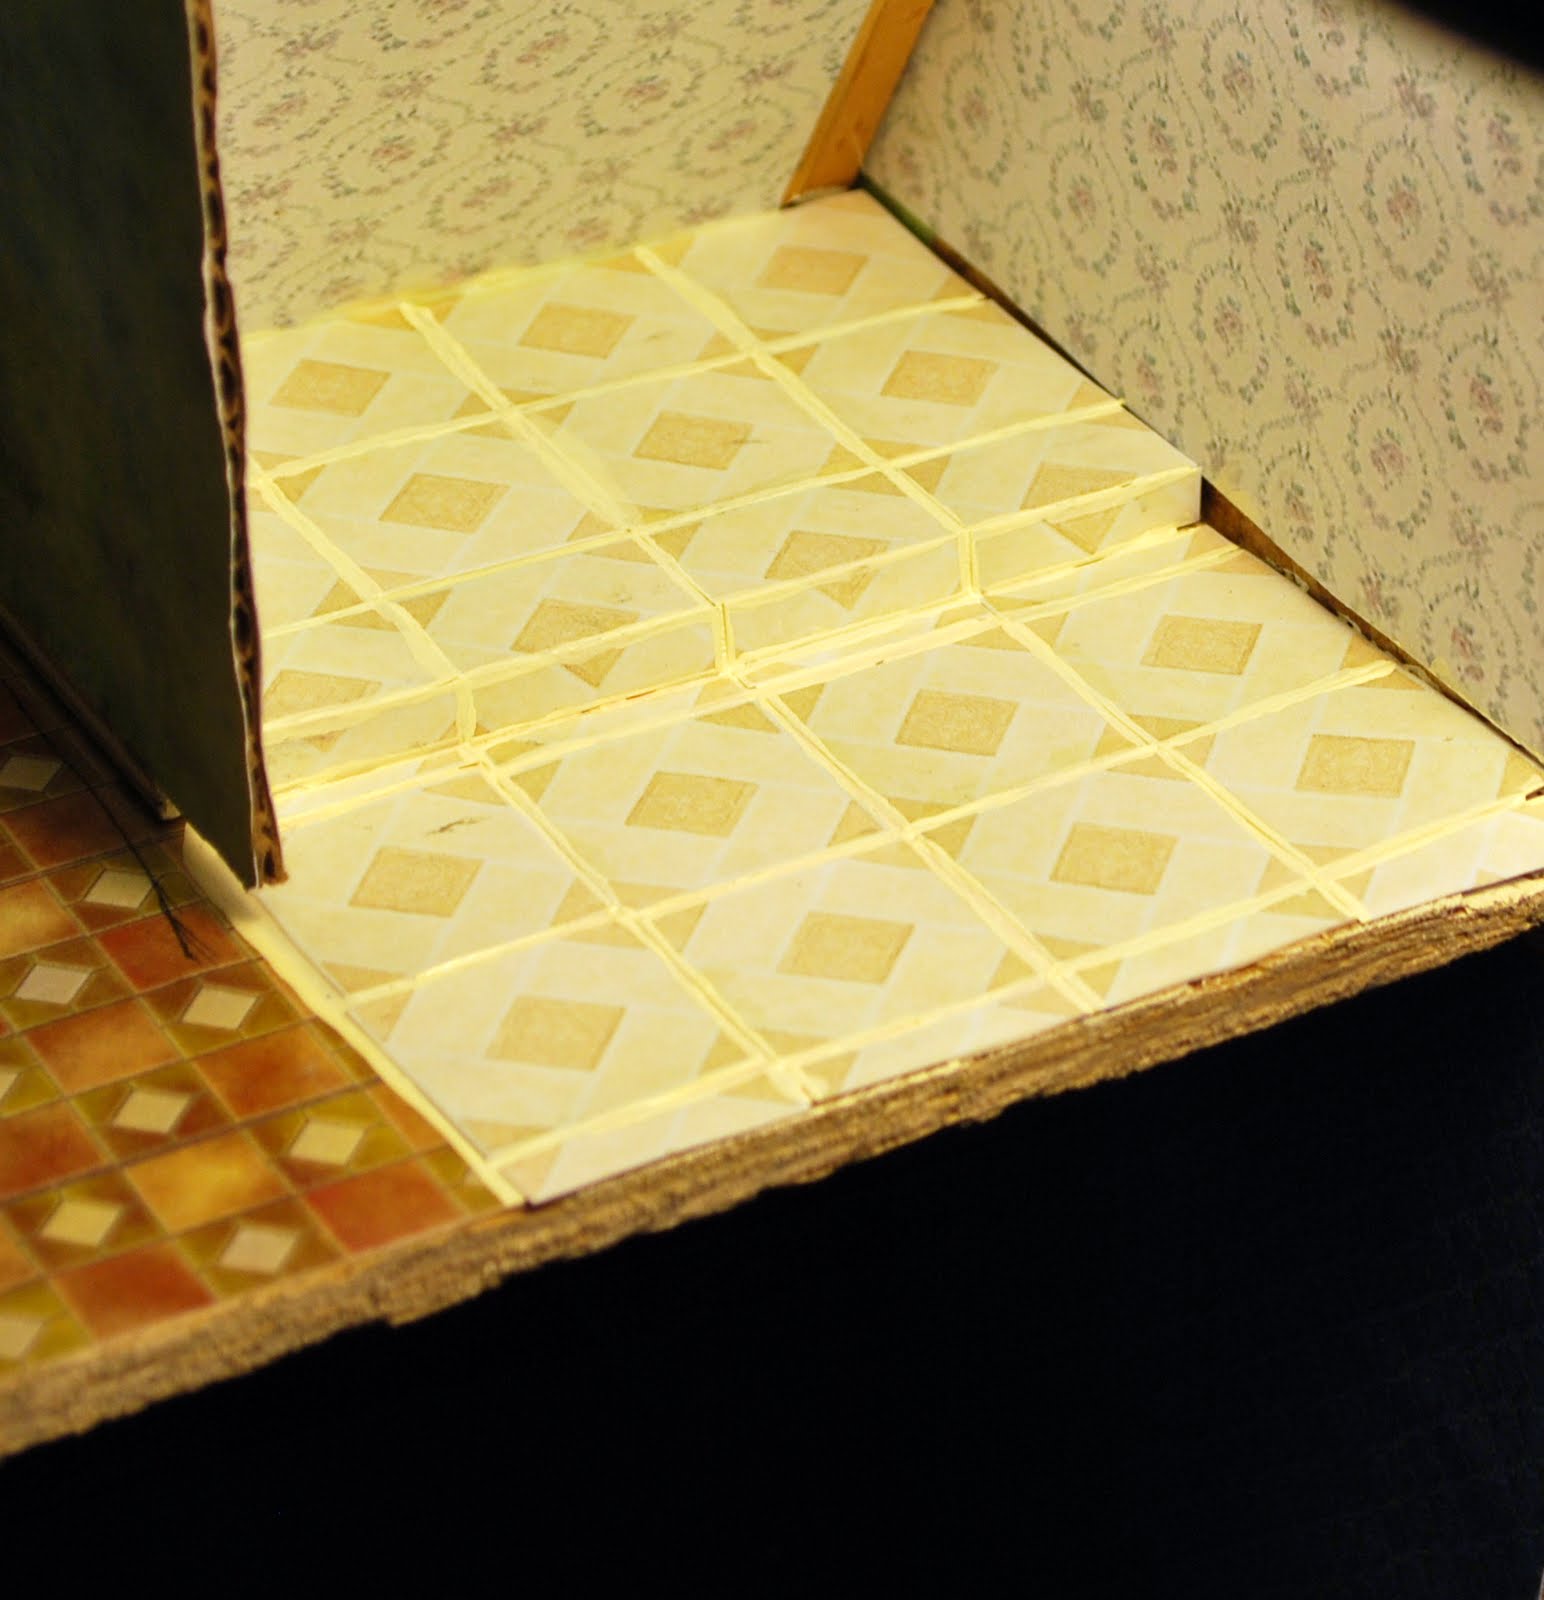
    Now use your grout color and paint between the tiles.


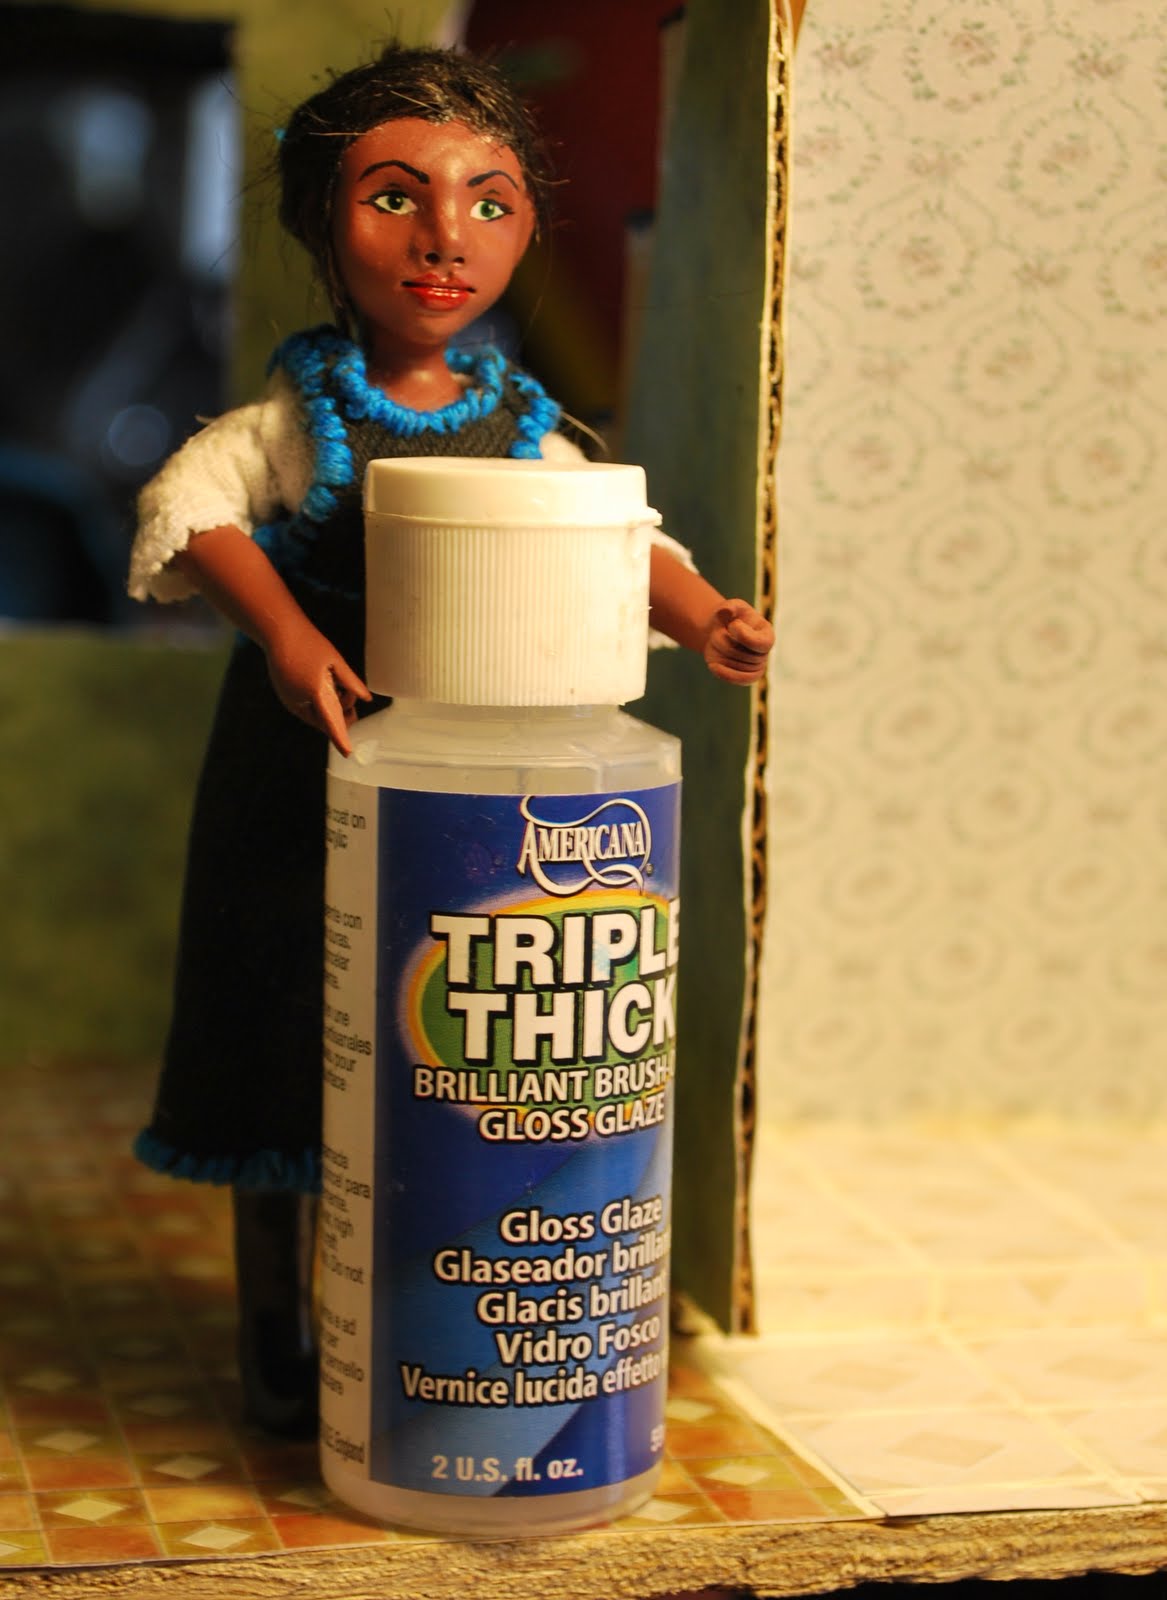
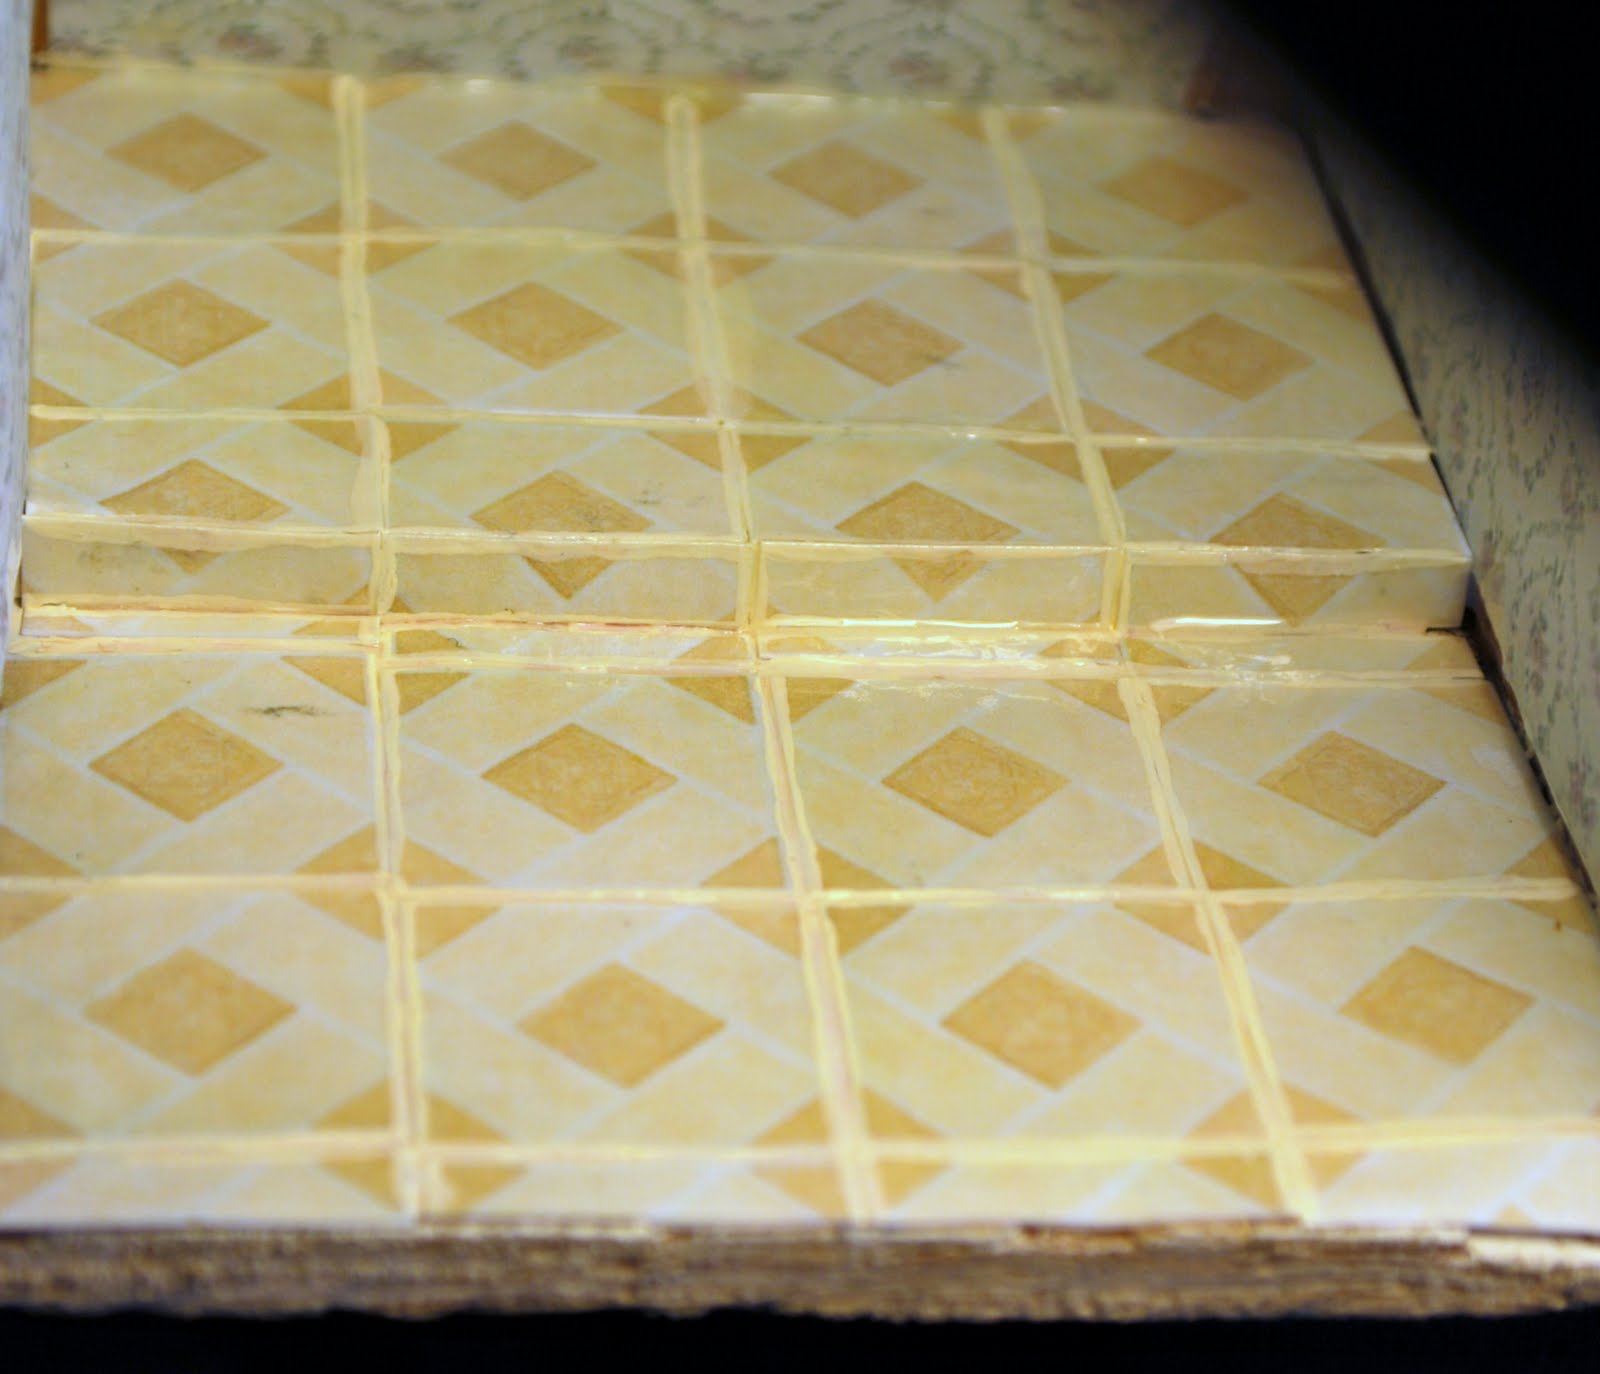
    Then we add some triple thick to the tiles it makes them nice and shiny. If you want you can emboss the grout lines with an embossing tool.  
    Here is the finished product. 
    I should note you need to make sure not to get glue on your fingers and then touch the tile or it will show up.


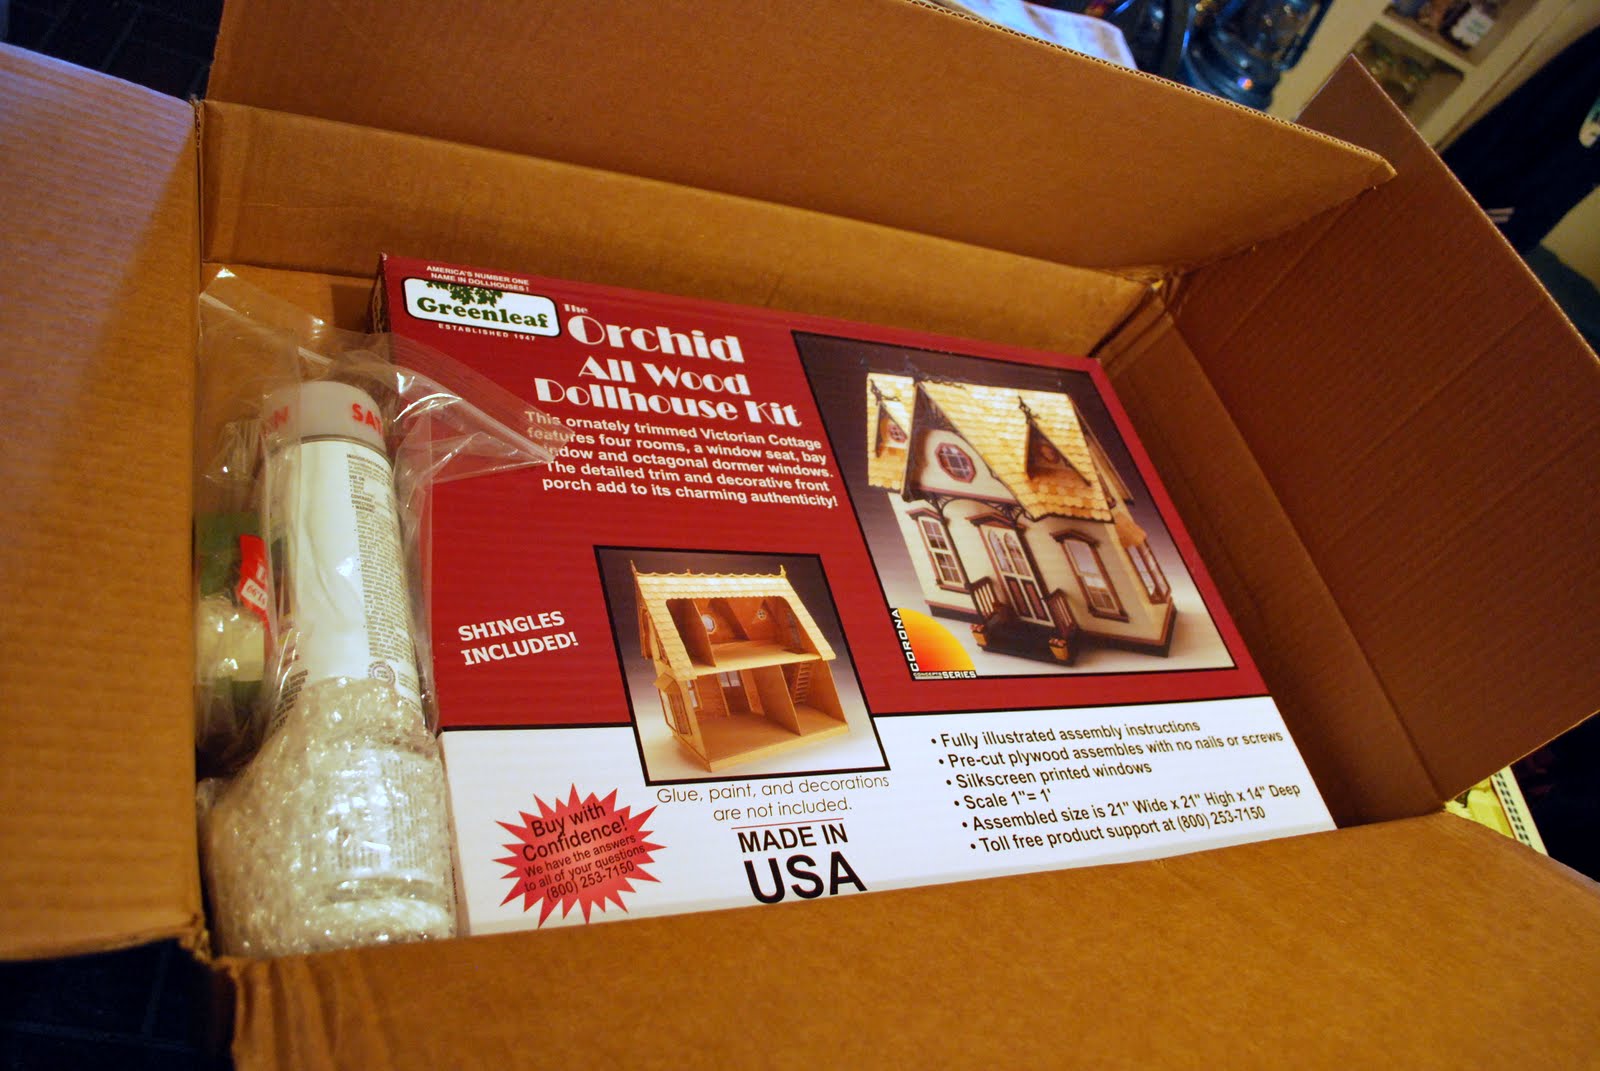
    Oh and guess what came today. 

    Thanks MOM!!!